
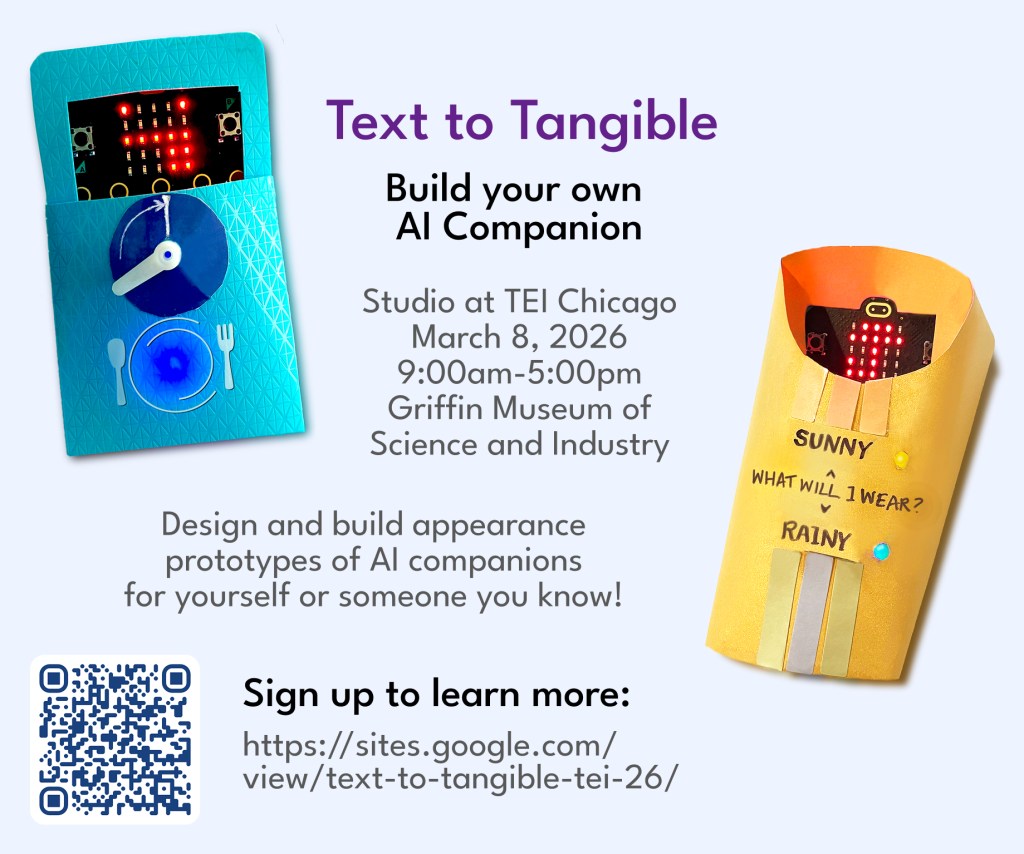
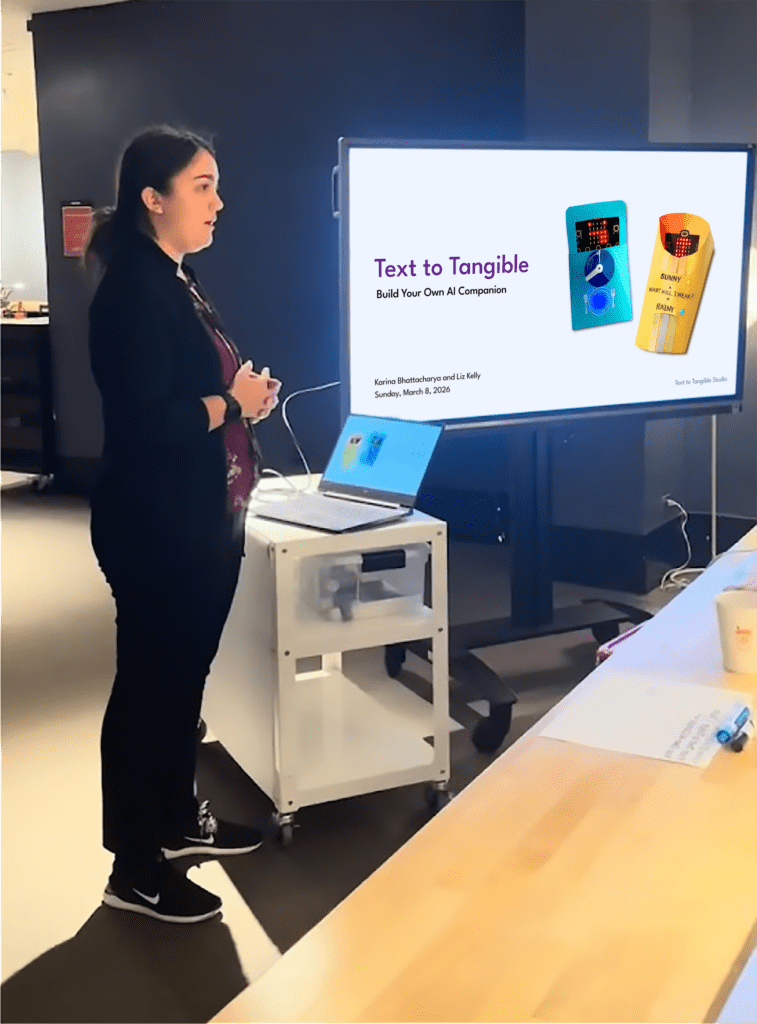
Text to Tangible
Build Your Own AI Companion
I hosted a full-day studio workshop at the annual Tangible Embedded Interaction (TEI) conference, a venue for research on interactions in physical objects and interfaces.
Roles: I planned and actively led the workshop. Facilitator Liz Kelly helped me in preparing supplies, managing the vinyl cutter, and troubleshooting.
Why explore the future of AI companion devices?
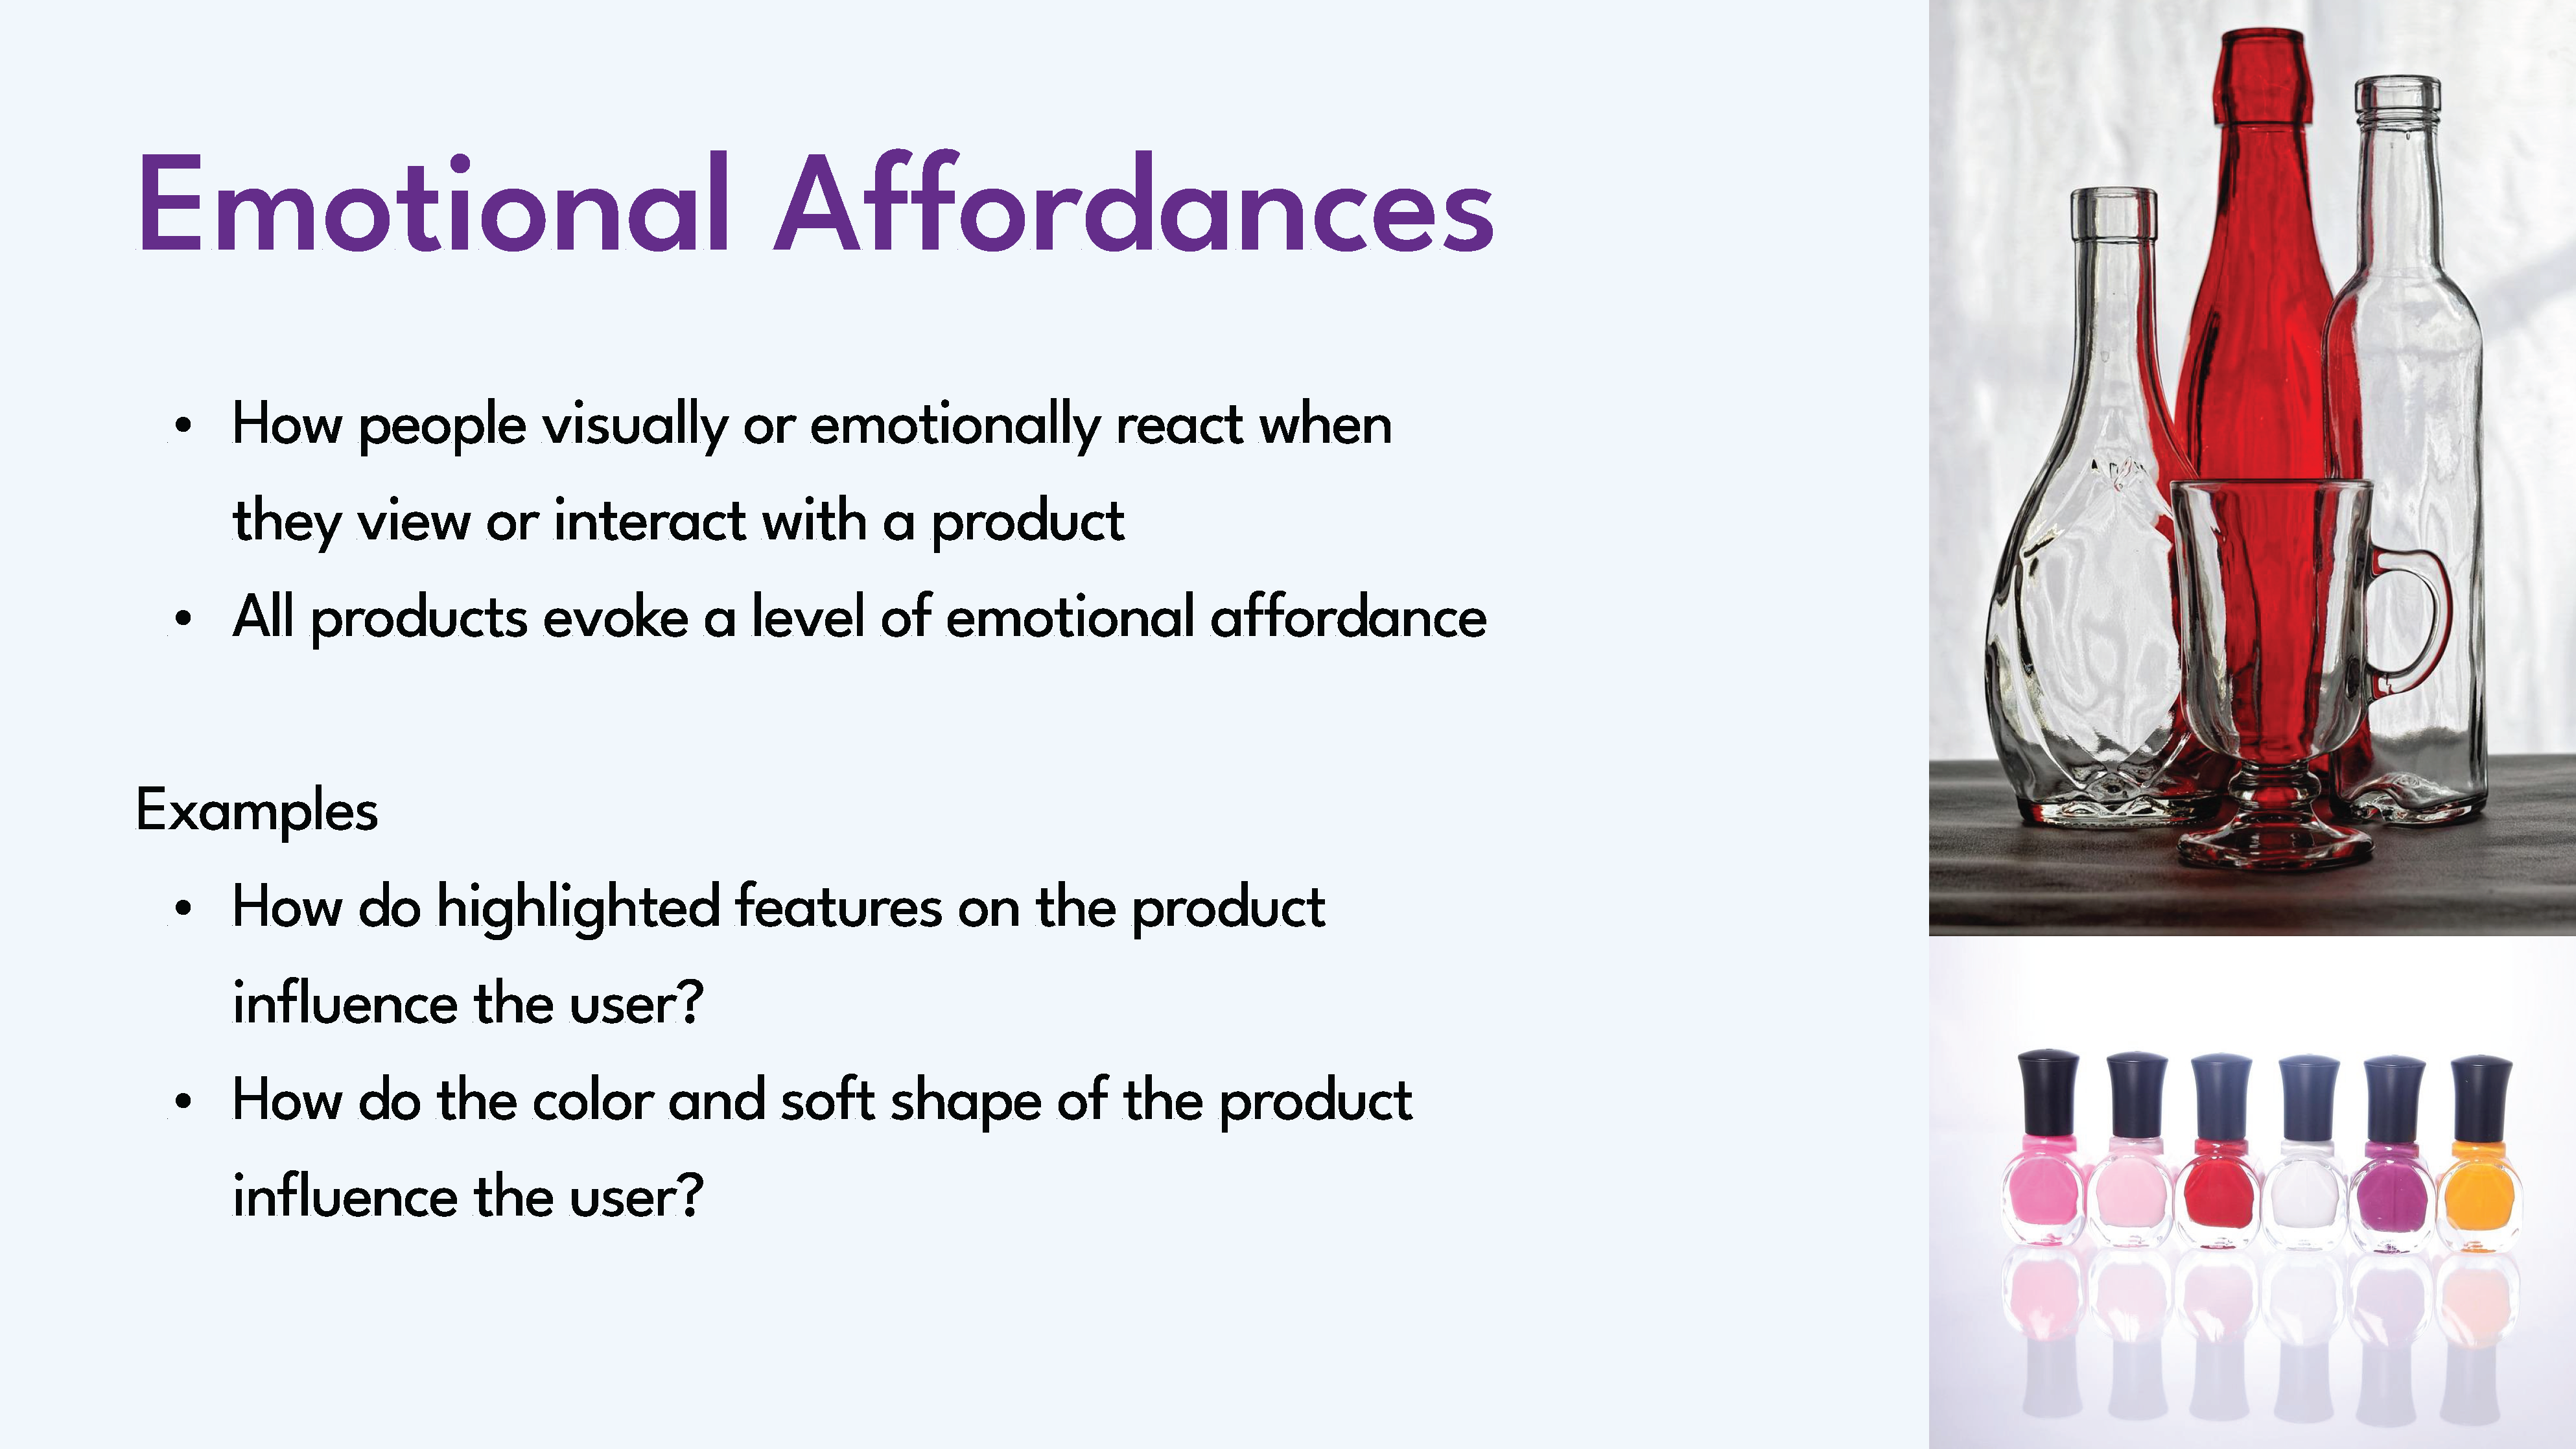
Most interactions with AI are text-based on screens. However, as AI is increasingly embedded in smart devices, the interactive components and interfaces of physical AI remain to be explored.
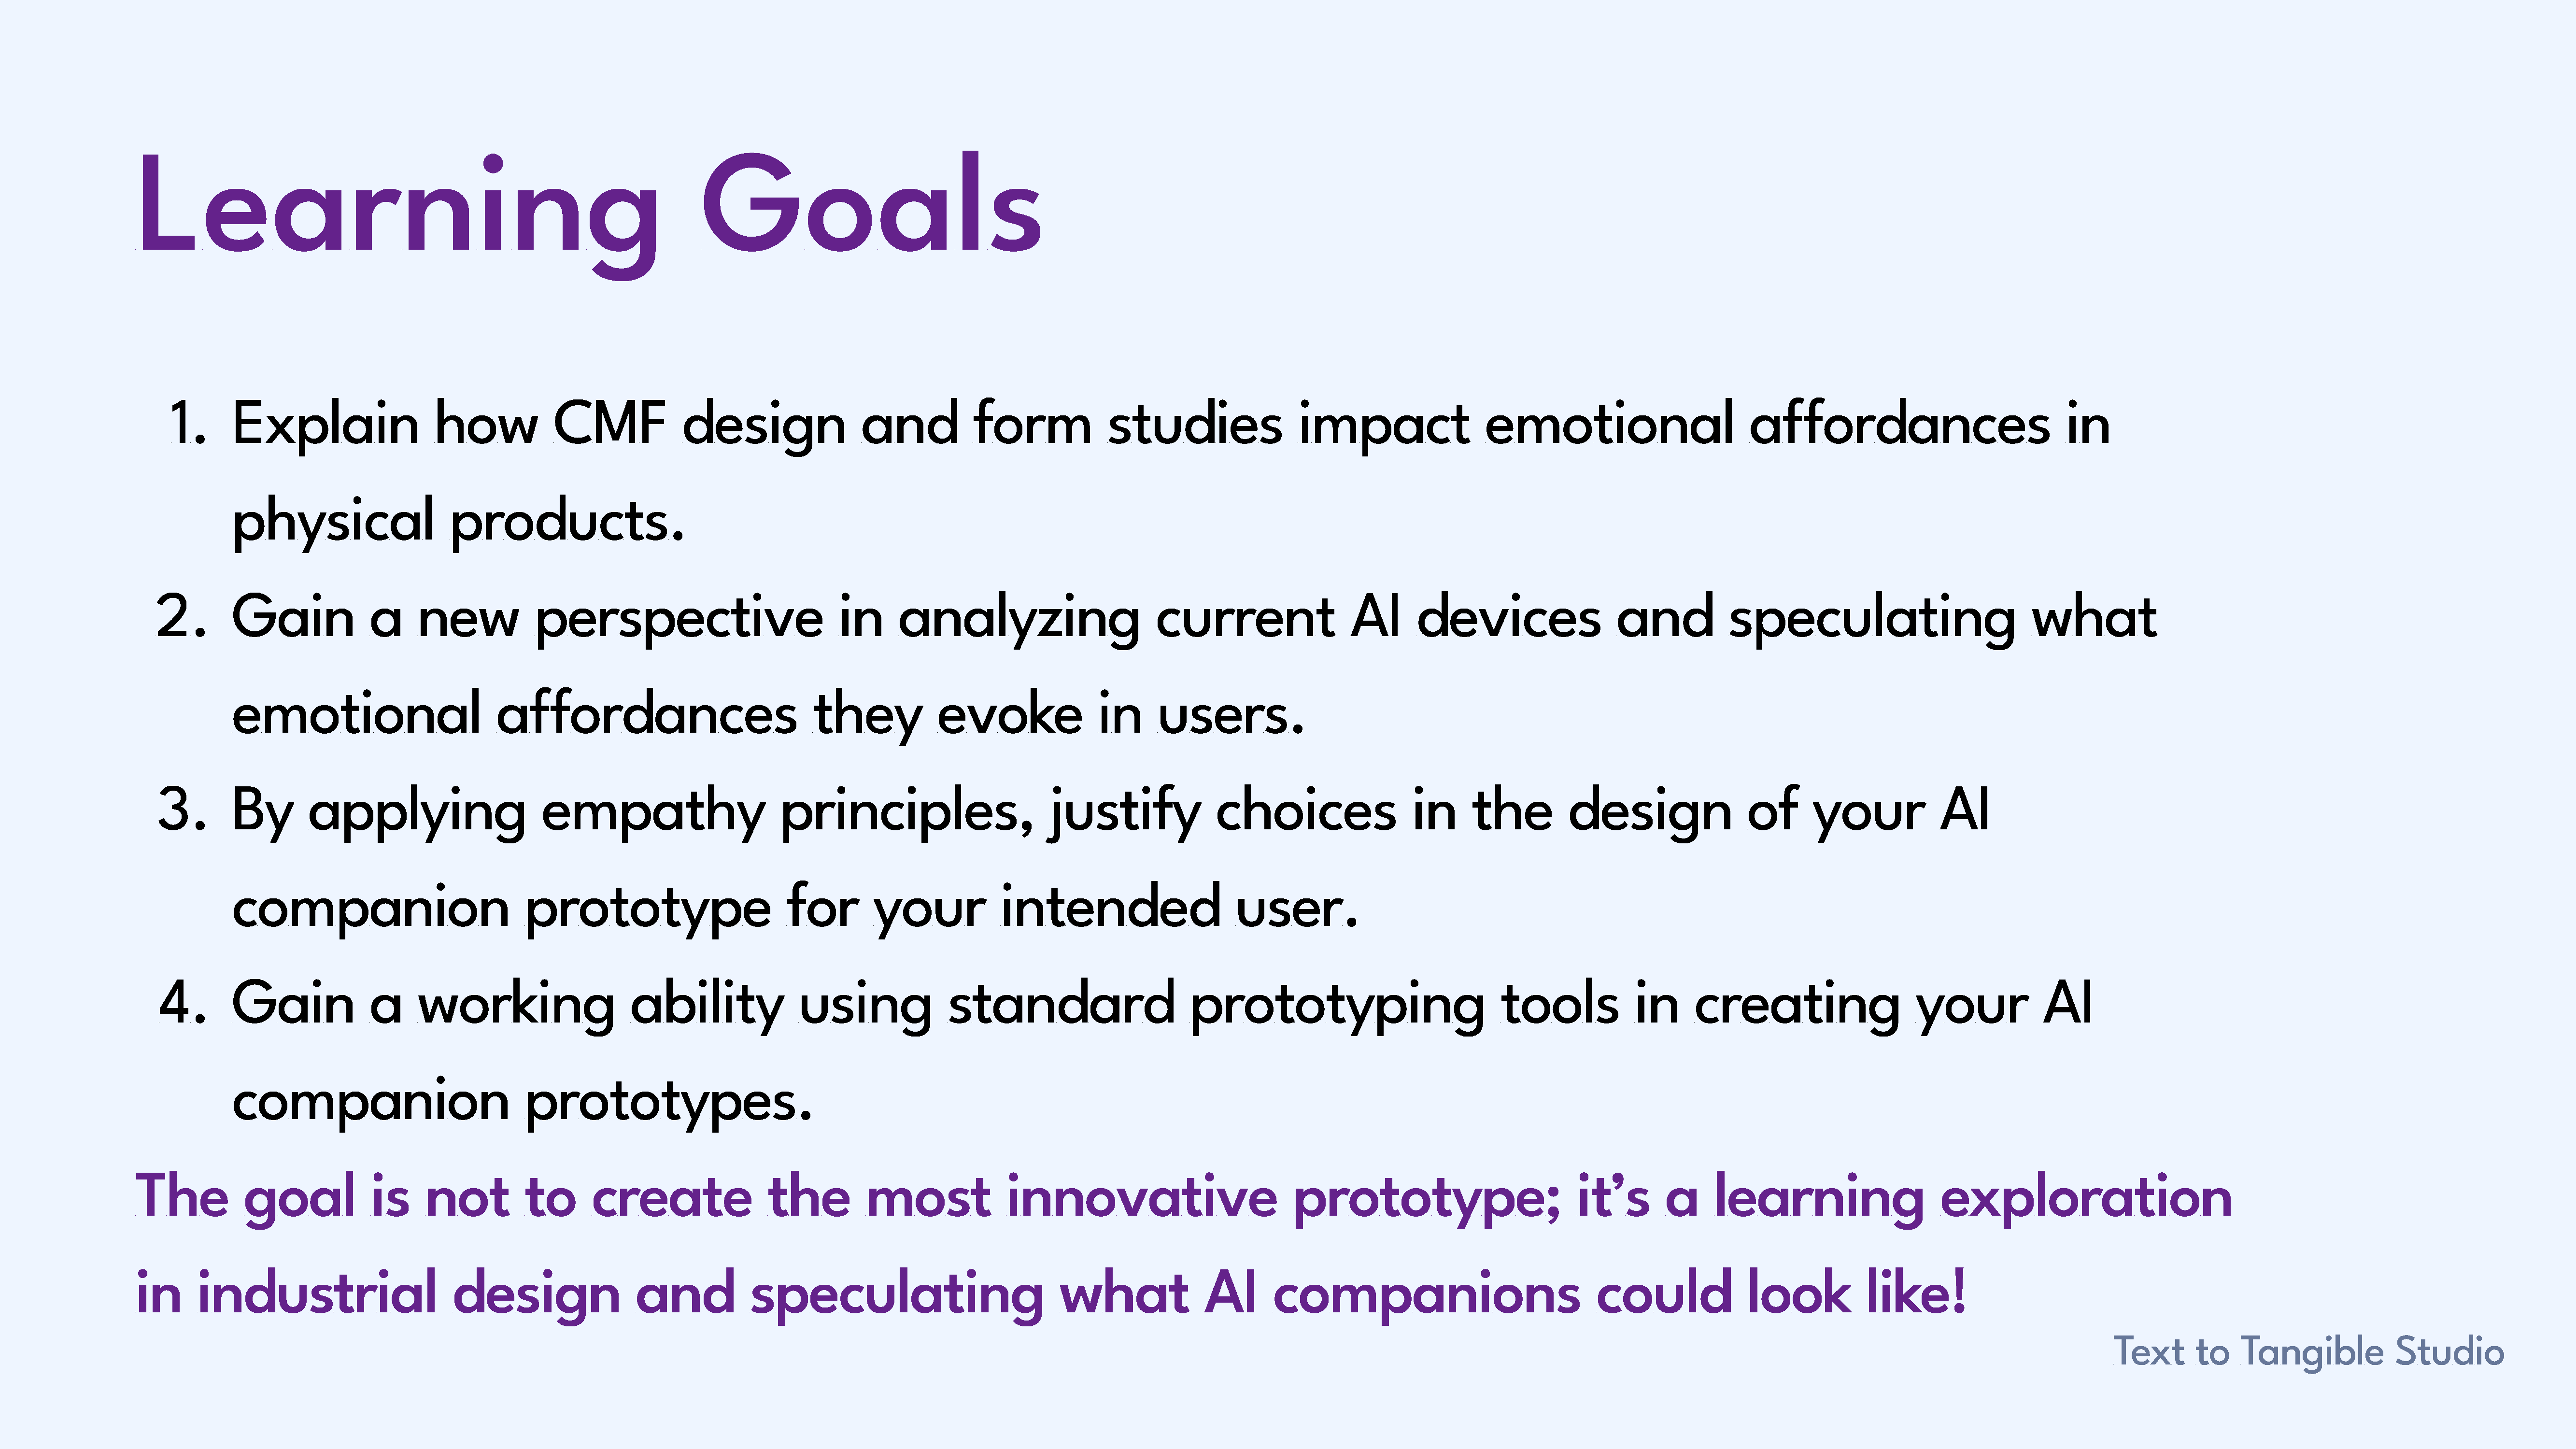
I leveraged my industrial design background to build a hands-on workshop that taught the topics of emotional affordances, AI inputs/outputs, and contextualizing a companion for a specific person.
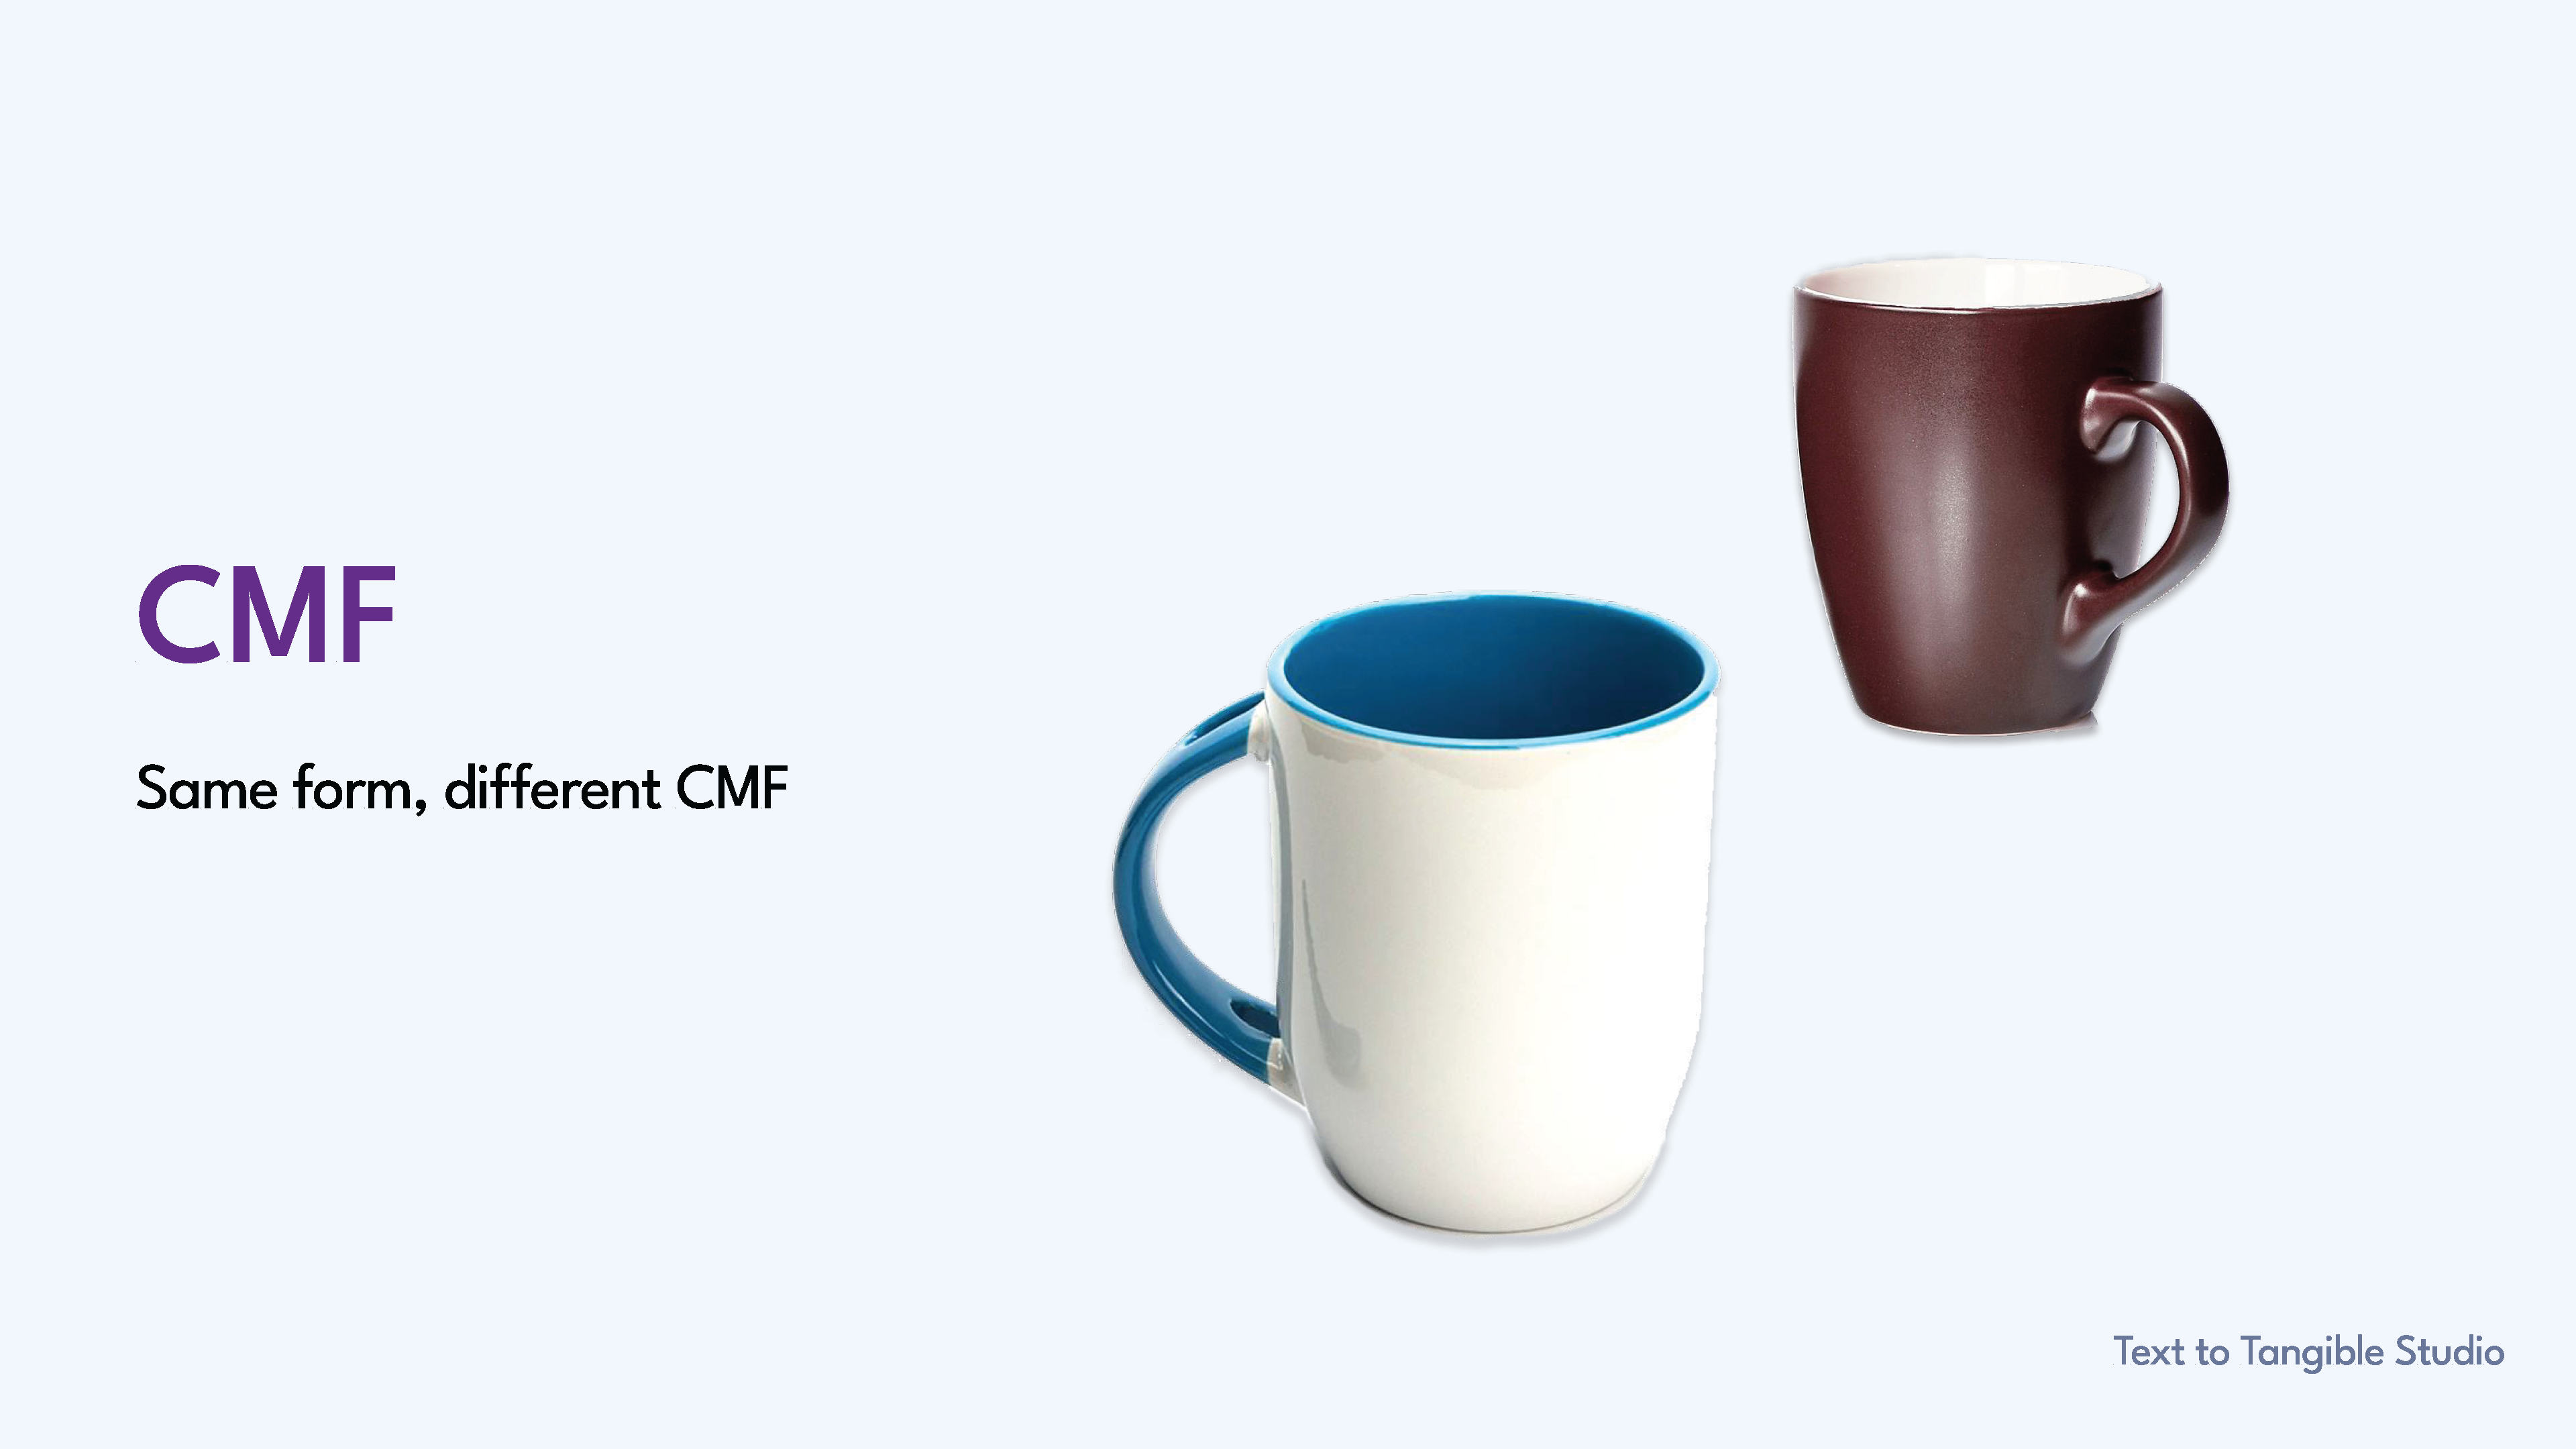
Appearance Prototypes vs. Real Interactive Prototyping
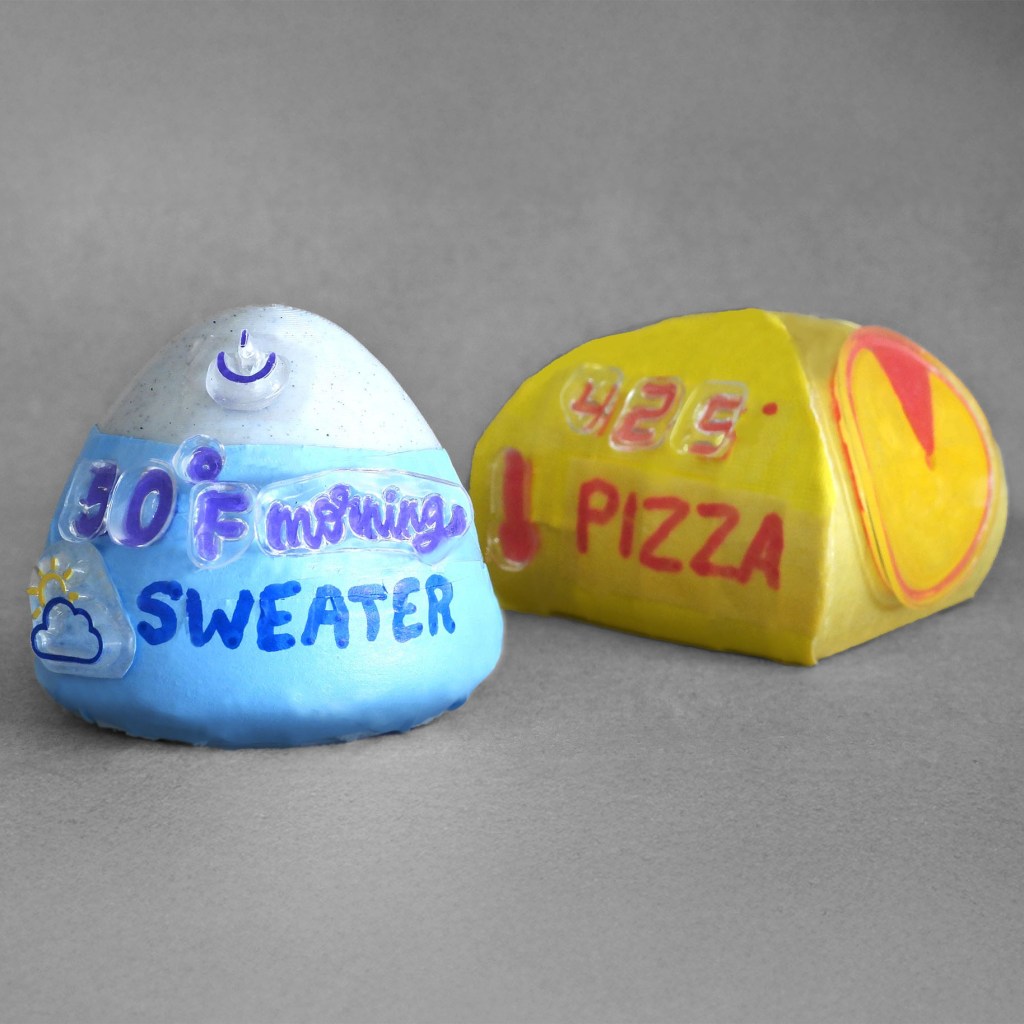
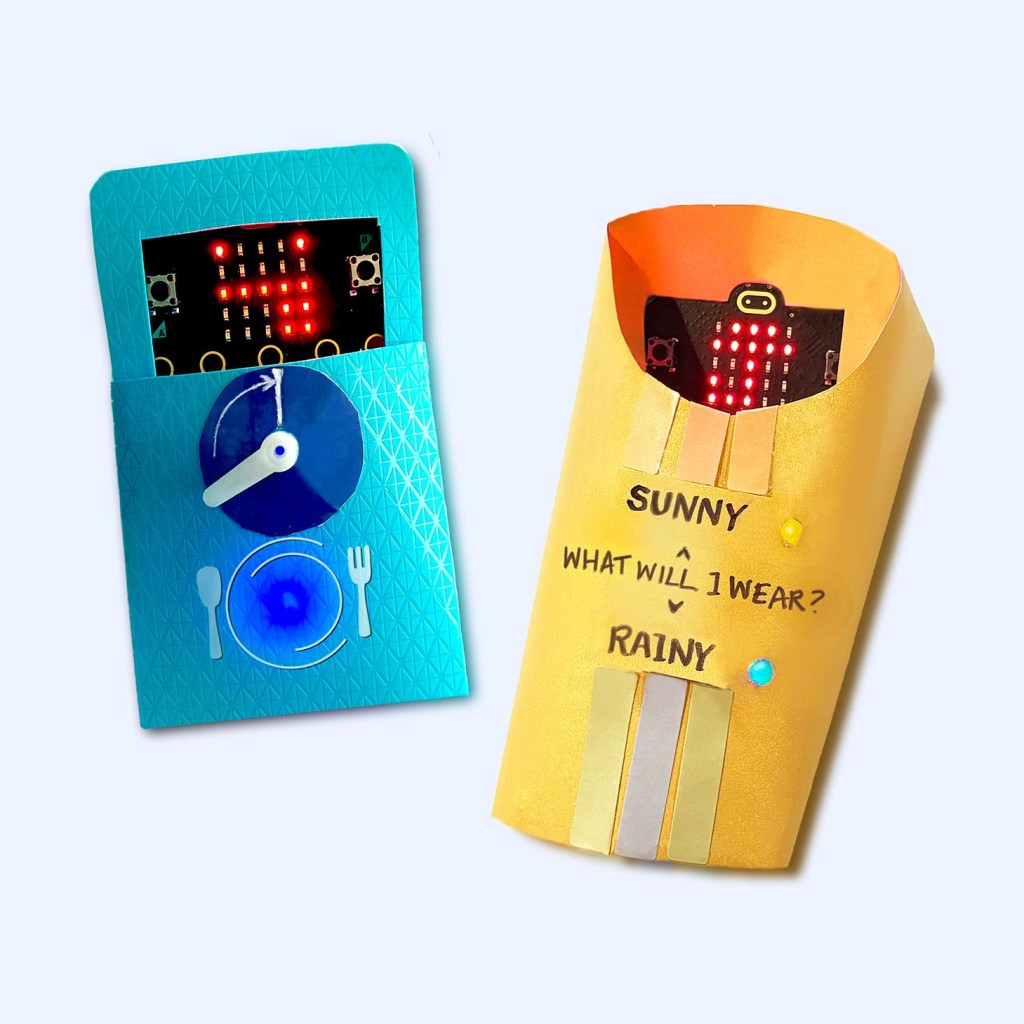
As I developed ideas for the studio workshop, I decided to make a major change: rather than only making appearance prototypes, introduce real interactive prototyping with micro:bits.
Appearance Prototoypes
– More affordable supply list
– Faster workshop
– Open form prototyping
Real Interactive Prototypes
– Sensors, LEDs, and motors
– Levels of coding required
– Placement of components impact form
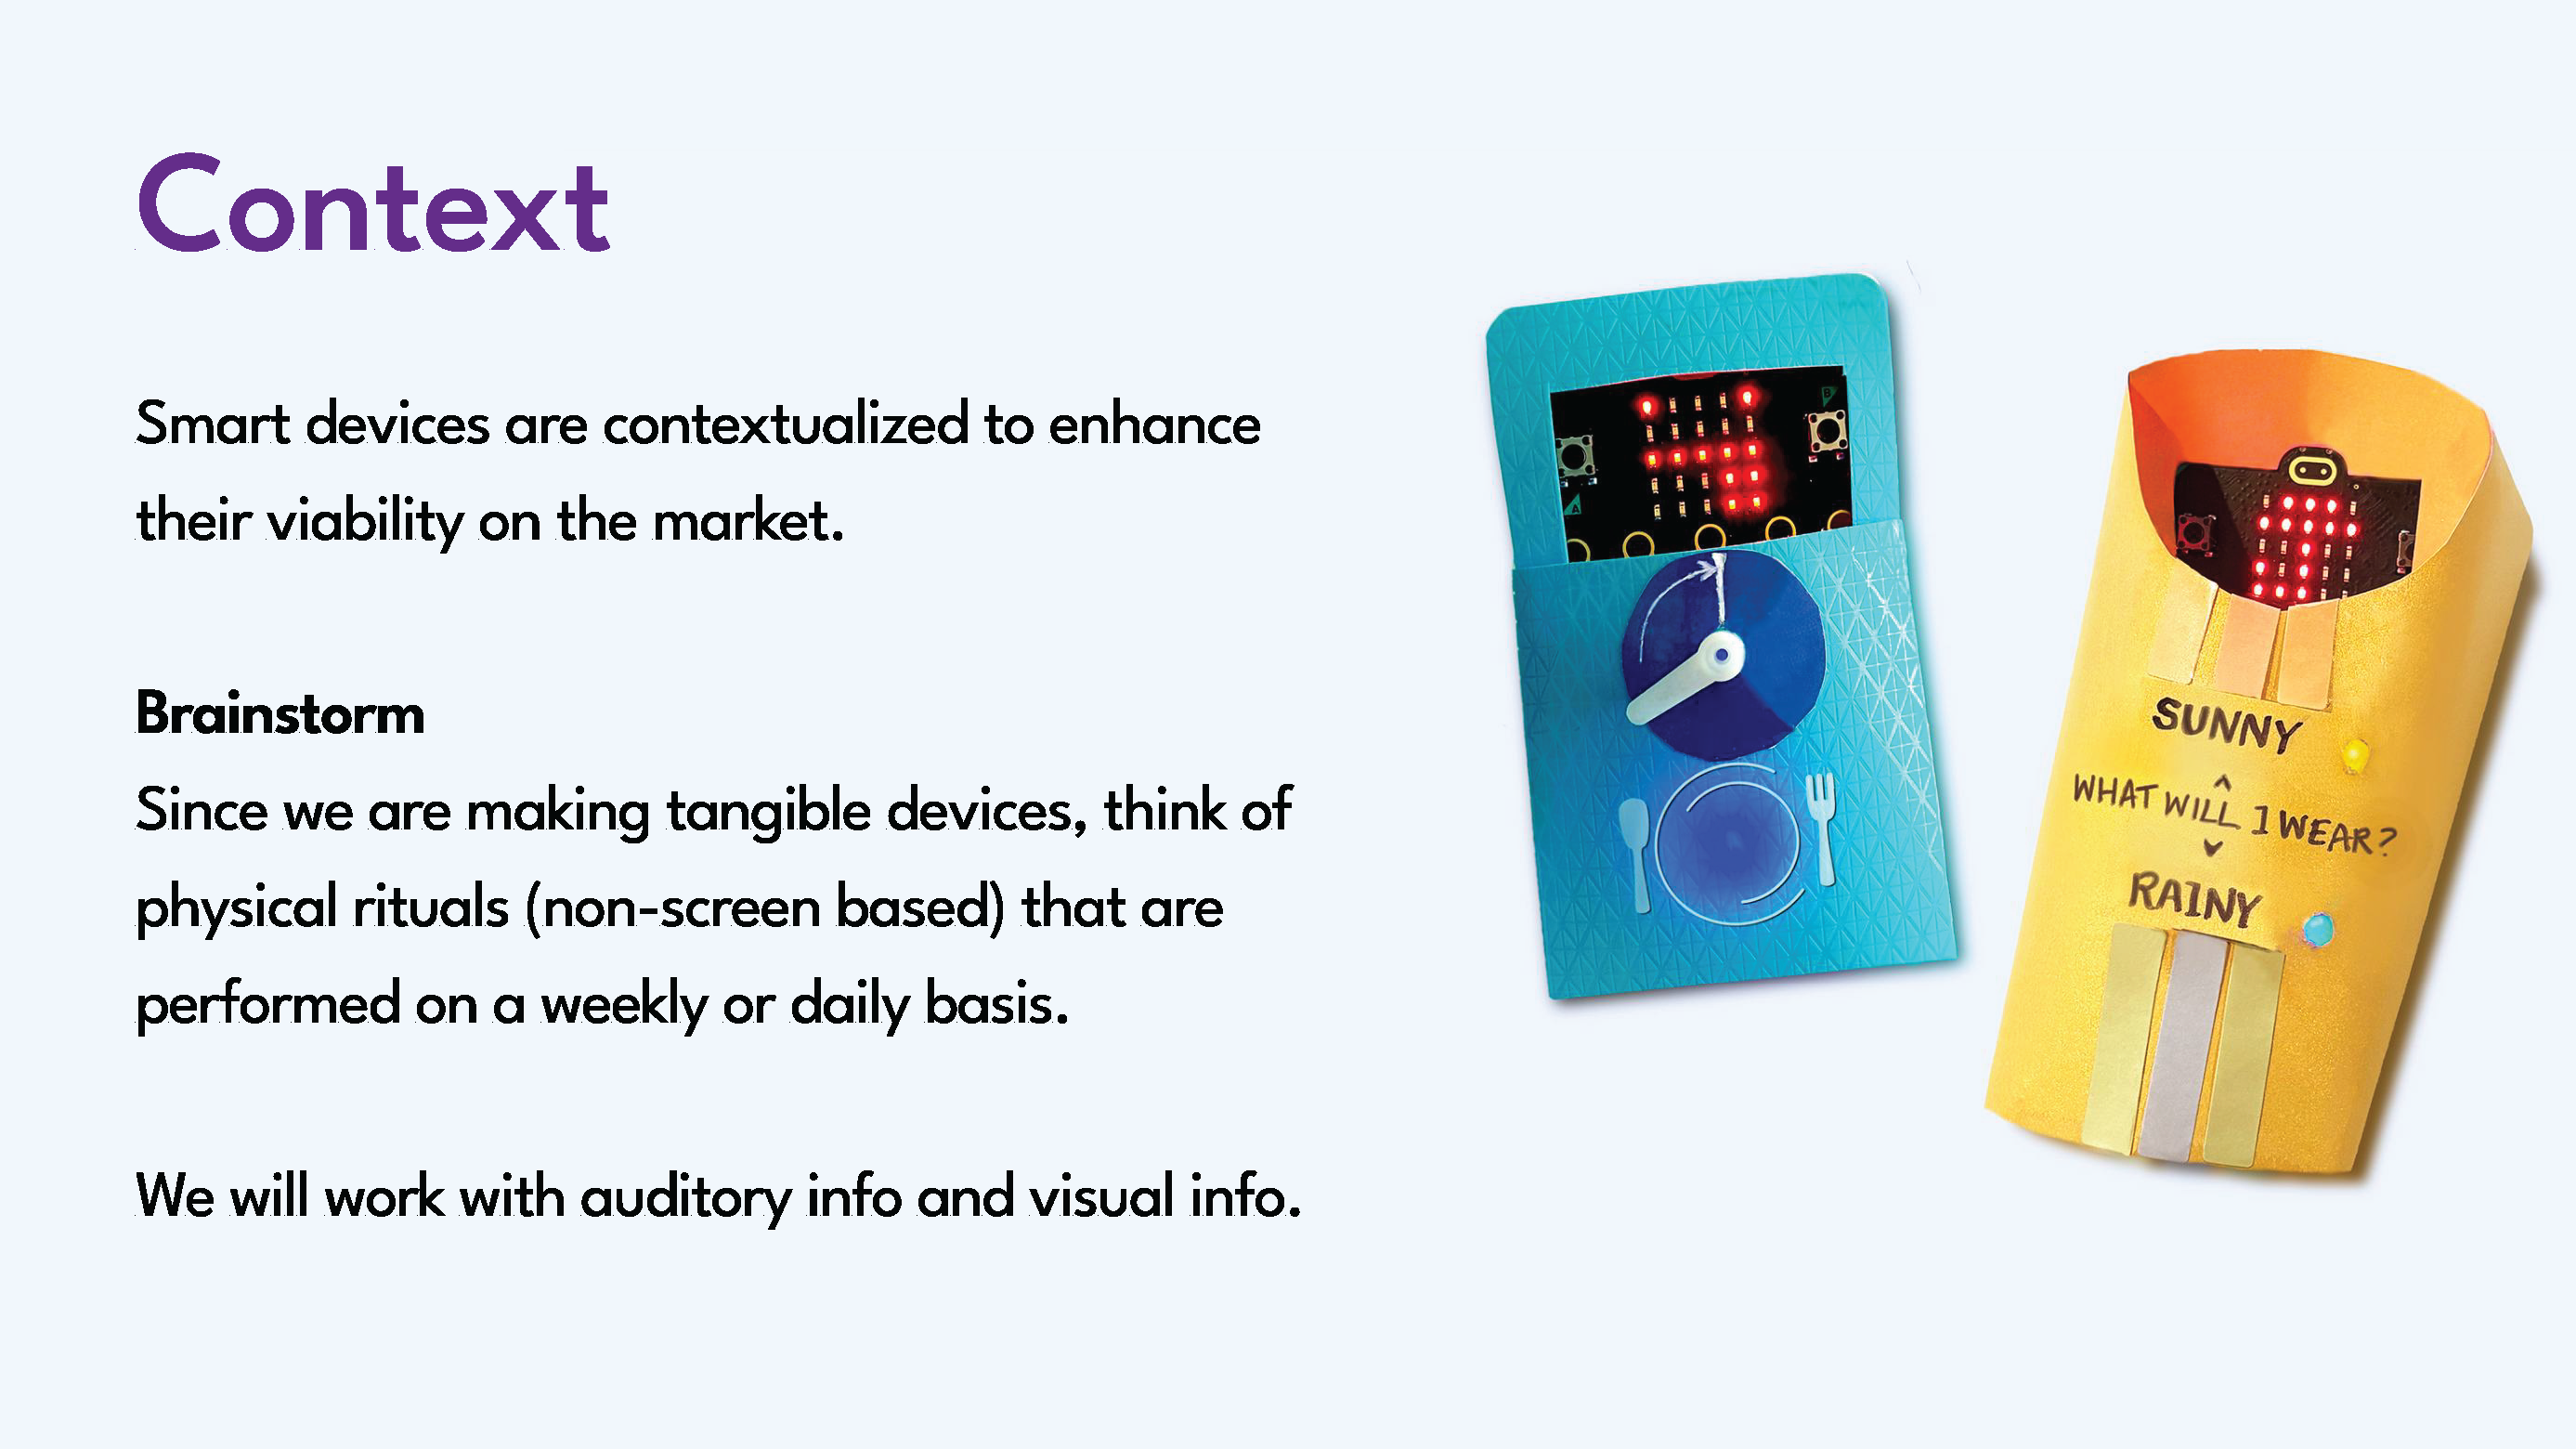
Real interactive prototyping offered a richer educational opportunity. My studio workshop would integrate basic applications of make:code, teach input/output interaction design, and integrate crafts.
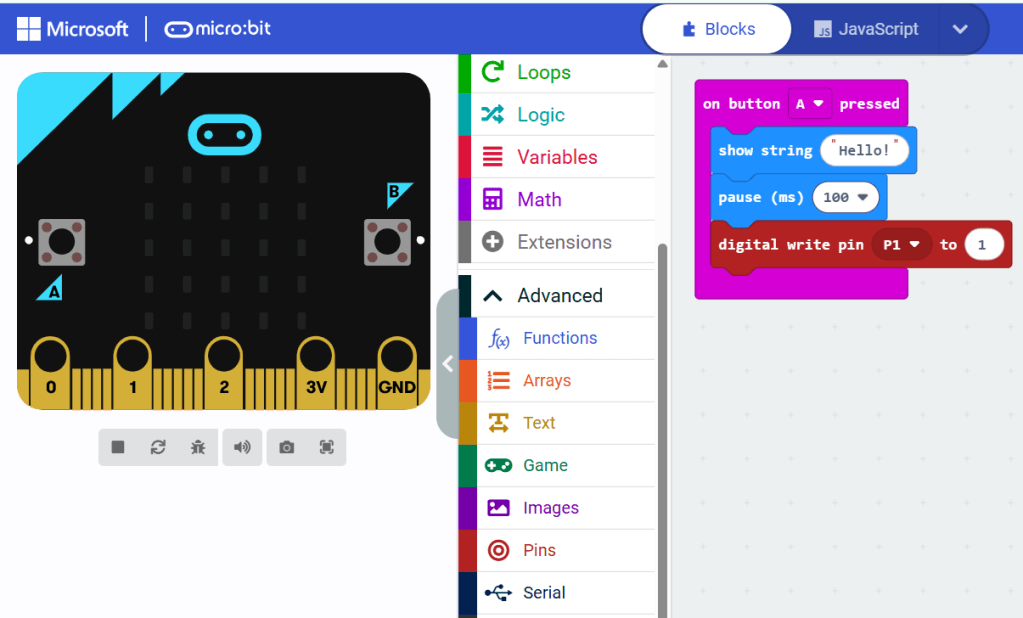
Why Micro:bits?
Micro:bits offer an inexpensive hardware starter pack and an easier coding workflow for beginners, compared to Arduino products.
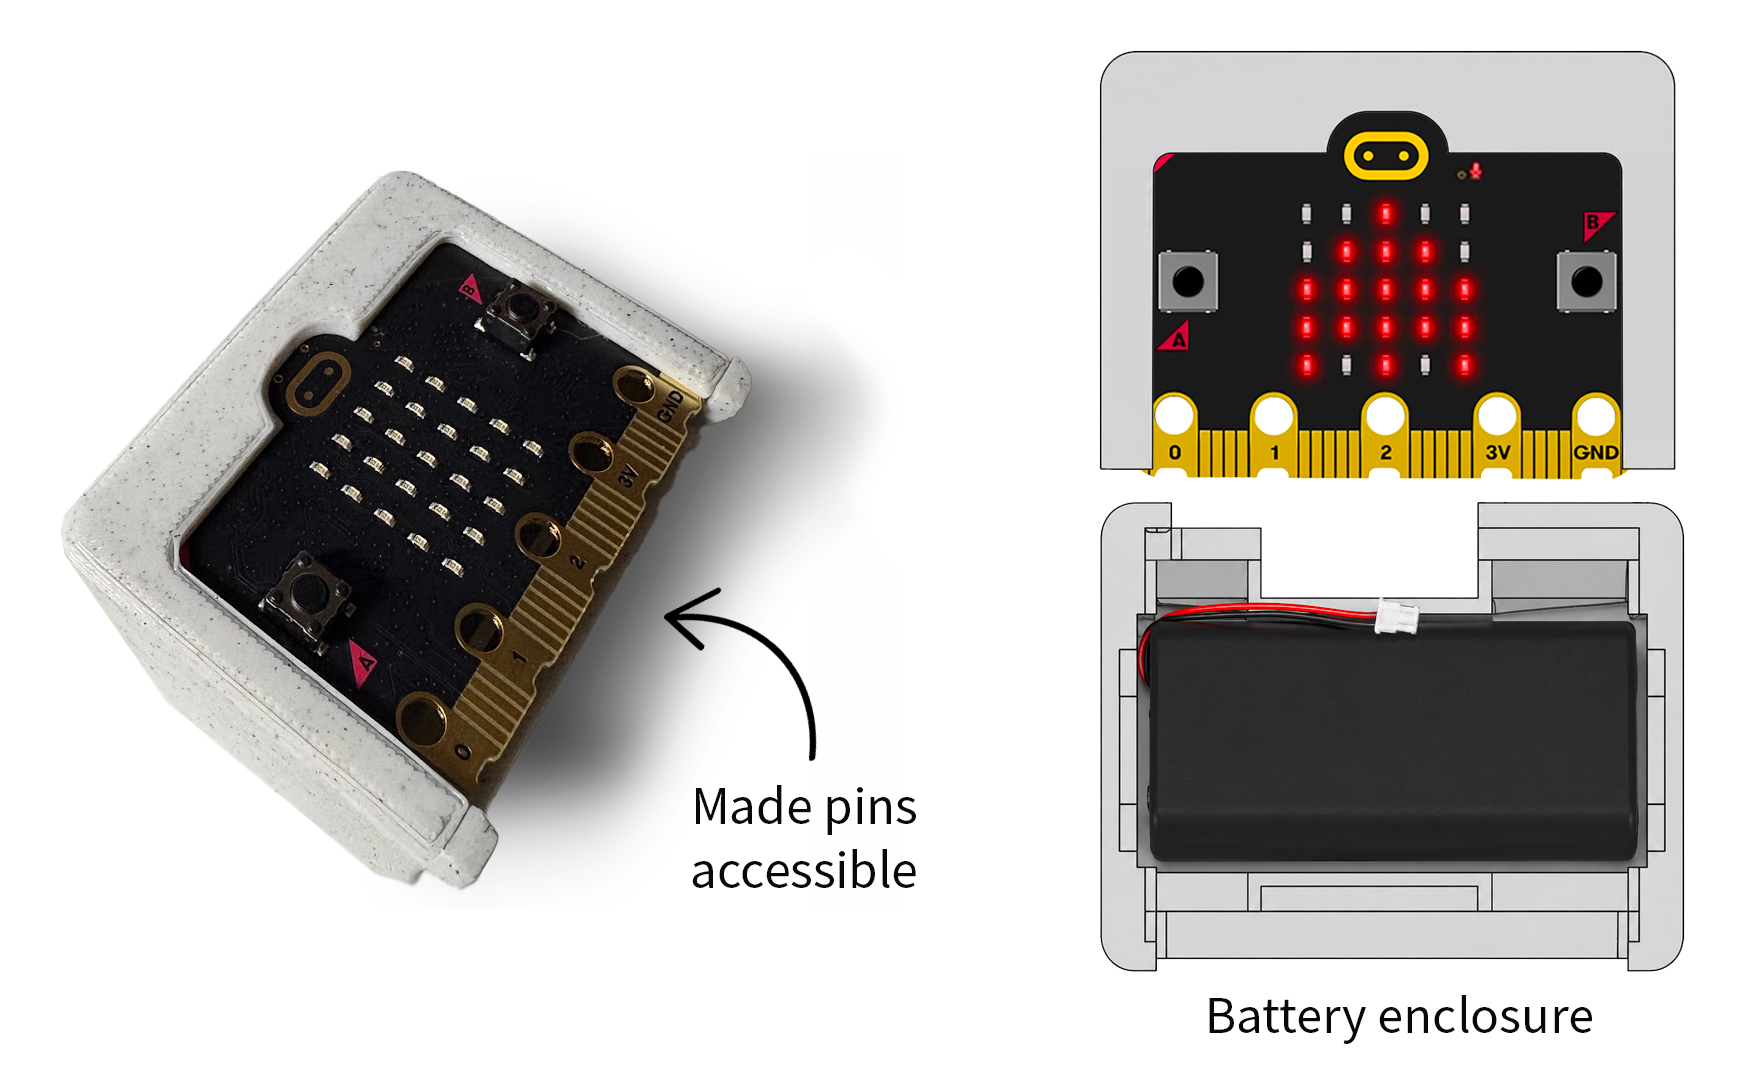
The conference reviewers suggested 3D-printing components prior to the session. Since the studio workshop would involve micro:bits and batteries, I developed a basic enclosure for both parts.
Recruitment
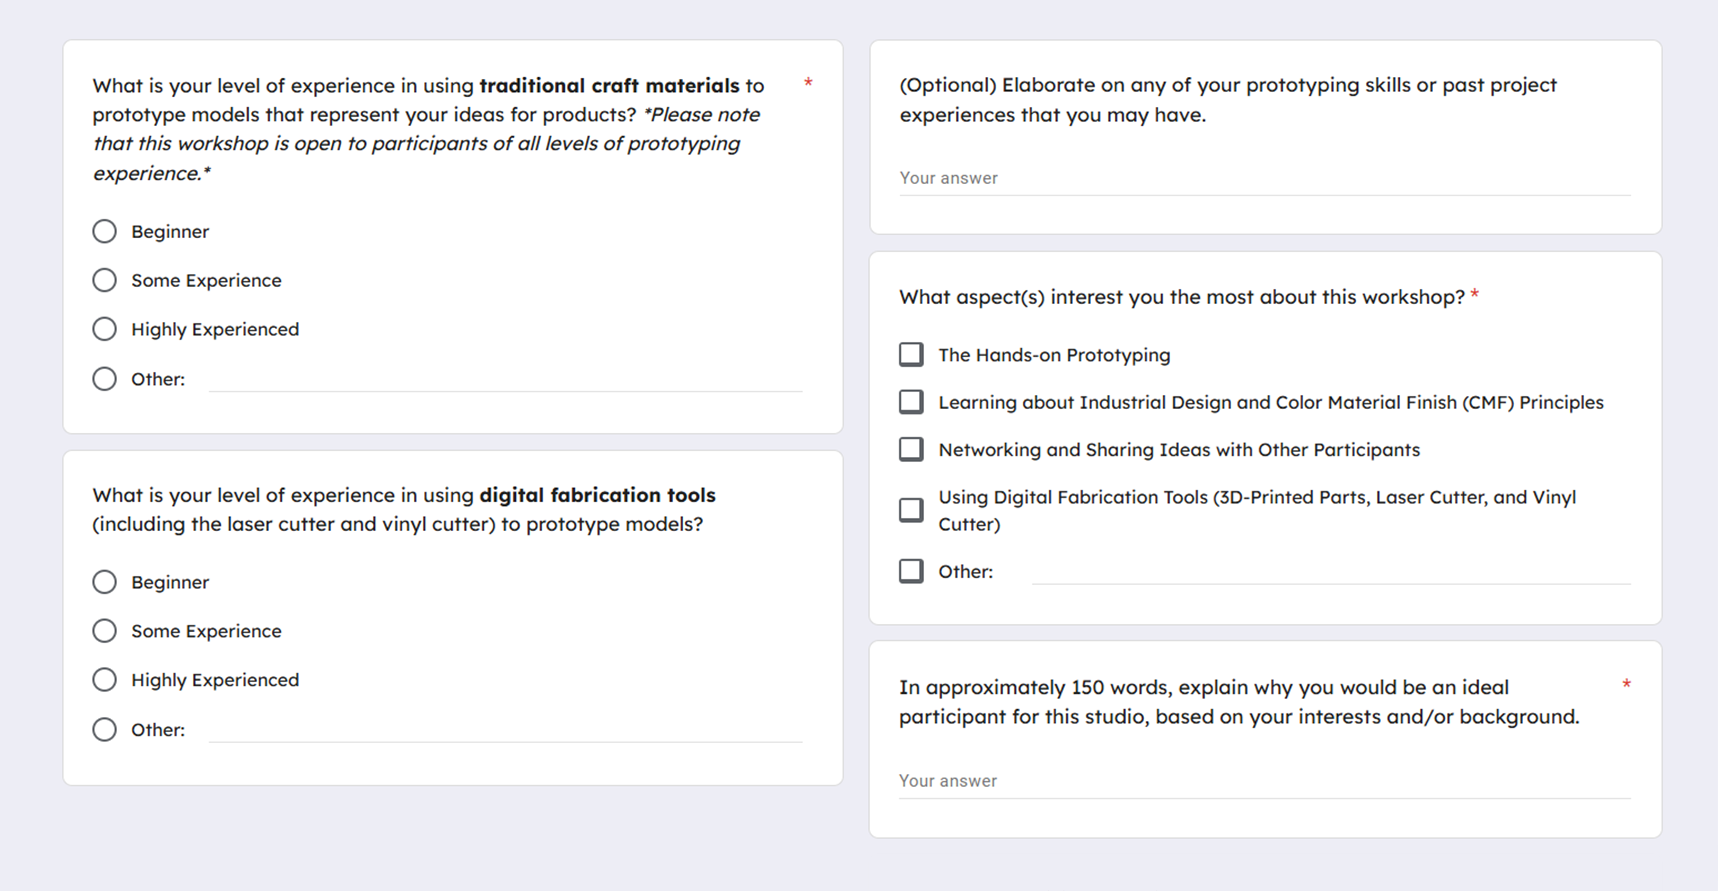
I created a website, posted links online, and shared it with lab affiliates. Interested attendees submitted the Google Form and registered for both the conference and studio workshop.
Assessing Skill Sets and Interests
I wanted to make sure that attendees in my workshop could learn by doing, but the activities were not overly challenging. In the sign-up form, I asked questions about crafting skills, experience with digital fabrication tools, and interests in attending the studio workshop.
After receiving responses representing a variety of skill levels, I adjusted my approach:
– I allocated additional work time to hands-on prototyping in the studio workshop.
– Laser/vinyl cutting became optional and was not contingent on producing a final design.
– In my presentation, I extended my introduction to industrial design to share more examples.
Introducing the Studio Workshop
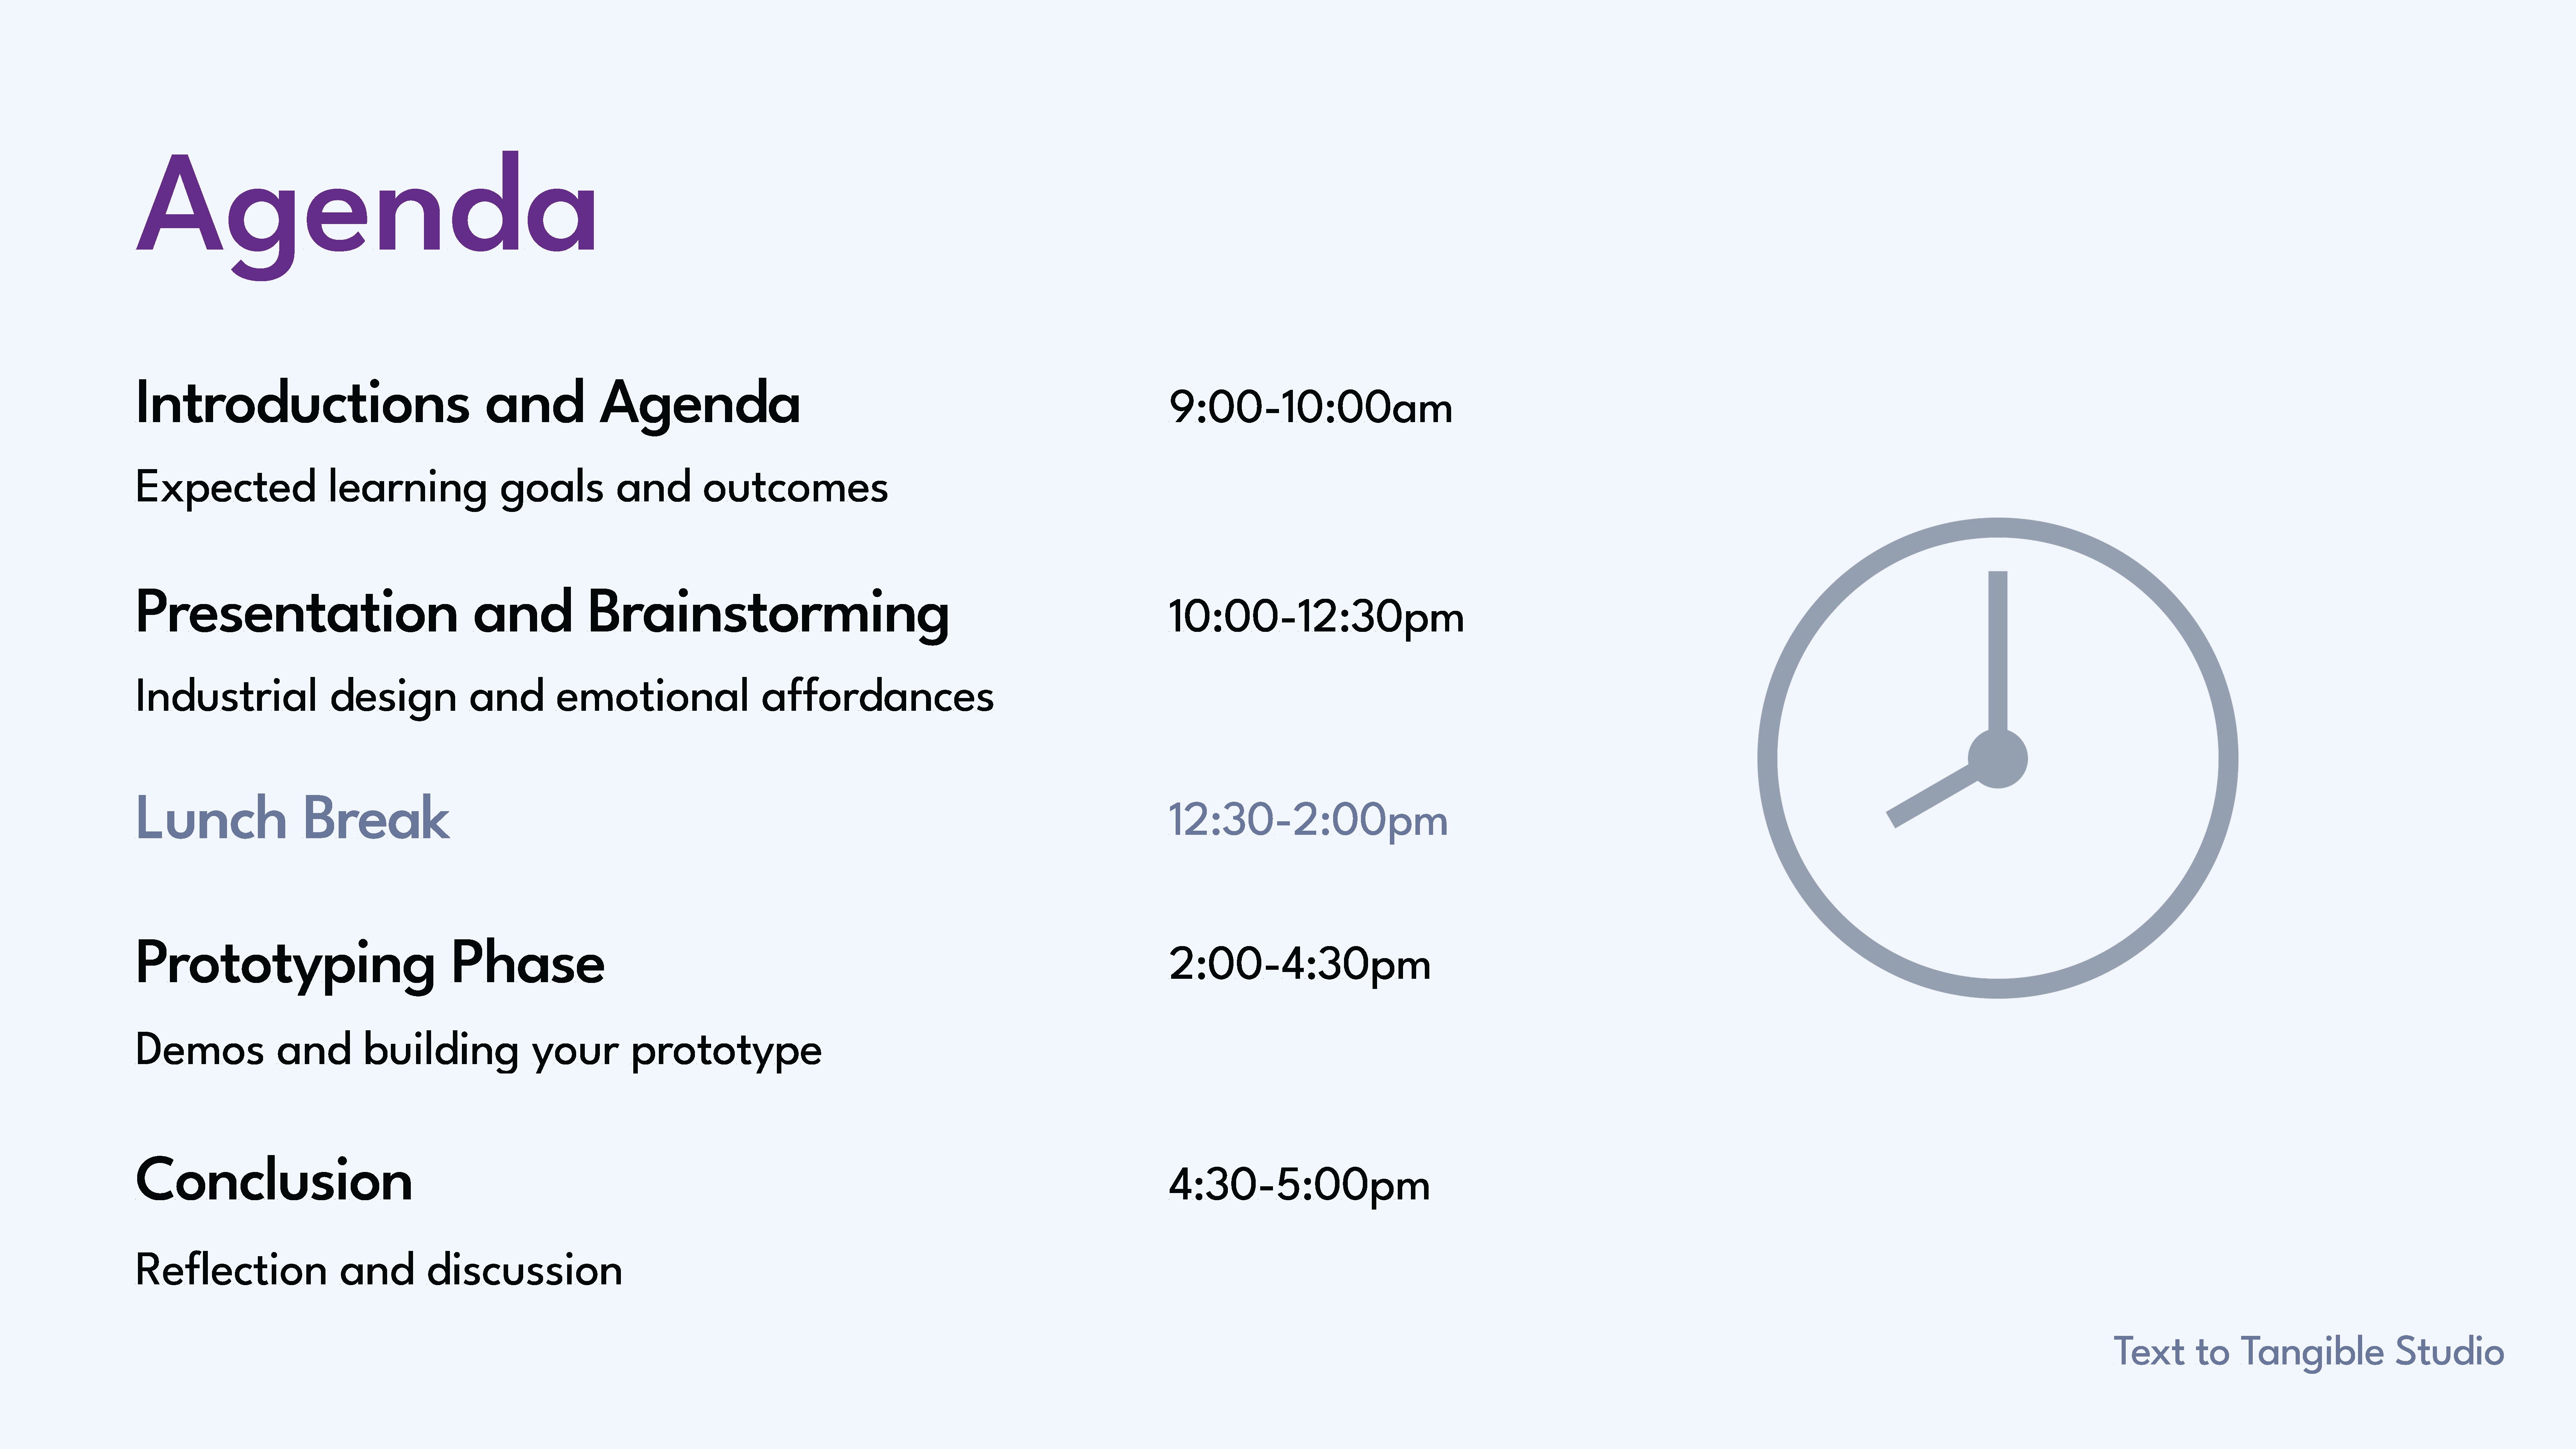
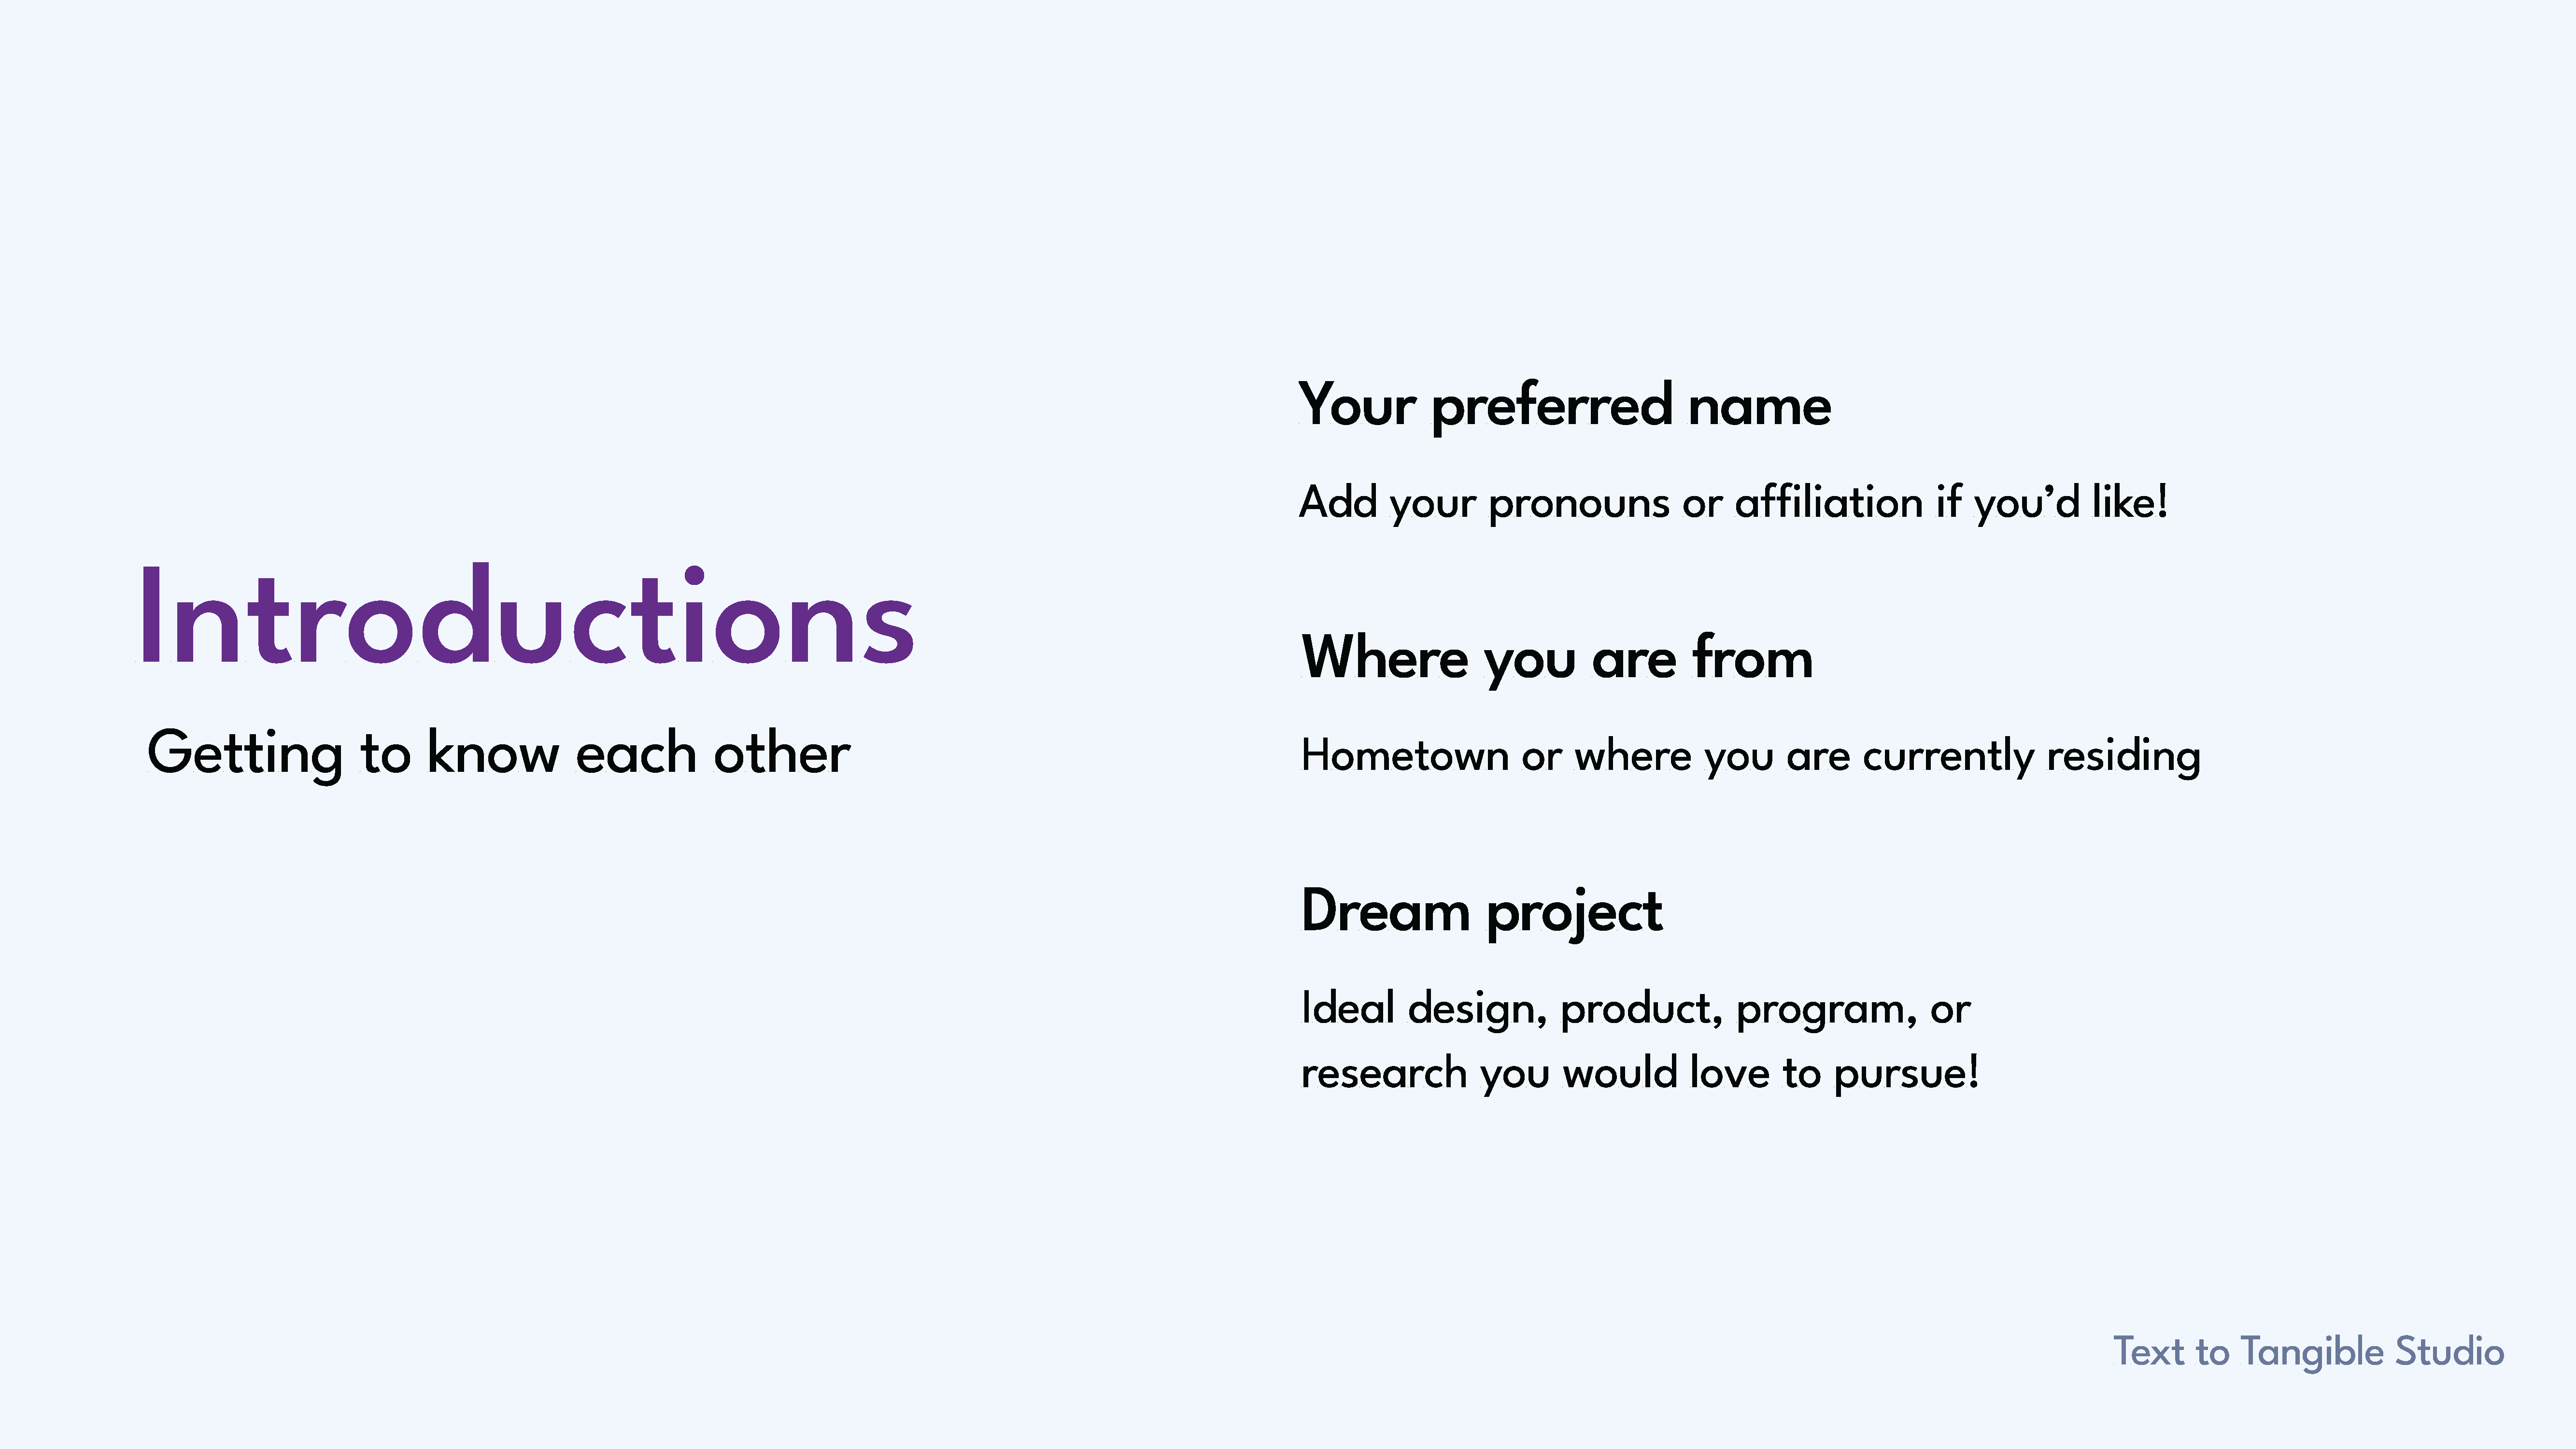
At the start of the studio workshop, I explained the expected outcomes and provided the prompt.
The Prompt
